Bandaging a leg is pretty easy, but bandaging a paw is a little more tricky. Not only do you have a wriggly, dog in discomfort to deal with, but you also have the difficulty of holding the paw with one hand, bandaging with the other, tucking the edges in, keeping it on, making sure its not too tight to restrict blood flow and not so loose it falls off – as I said, TRICKY!
I was asked today how to do it by one of our followers while she waited for her vet appointment (as per our instructions, Rhodes 2 Safety training is not INSTEAD of seeing a vet – it is to keep the situation under good control UNTIL your vet can see you)
So, when I tried to tell her in a message, it soon became clear that describing it isn’t easy so, instead, we’ve done a few photographs so you can follow the process. The dressing I have used to do it is vetwrap but this was only so that the lines of the bandage would show up clearly. If you are actually doing it for real, please first use an ordinary fabric wound dressing or bandage so as to prevent you pulling it too tightly around the paw and restricting blood flow.
HERE’S HOW:
Clean the wound thoroughly (ideally with saline solution – salt water).
Pat the wound dry
Apply Manuka honey or something like Savlon to a square of gauze and place directly on top of the wound
(the Savlon/Manuka will prevent the gauze from sticking to the wound)
Place some cotton wool between the toes of the paw to prevent sweating/rubbing
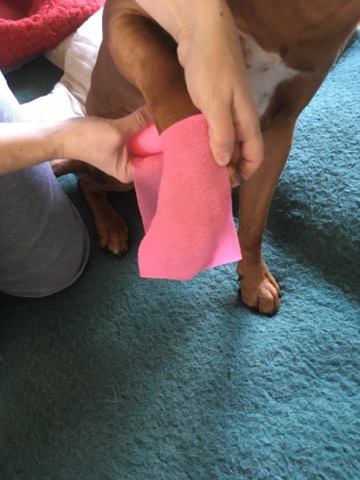
Hold the bandage at the ankle, roll down the front of the paw and back under again.
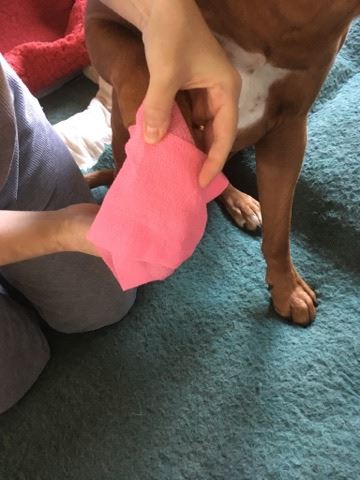
Tuck in one side corner edge and come back down the front on a diagonal.
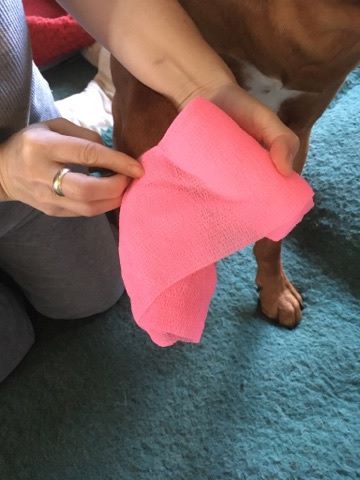
Come under the paw at the ankle, tuck in the second edge, then back down on a diagonal on the other side
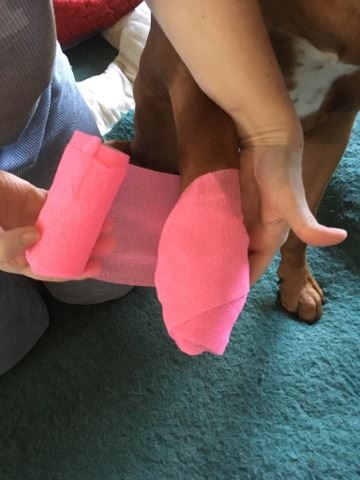
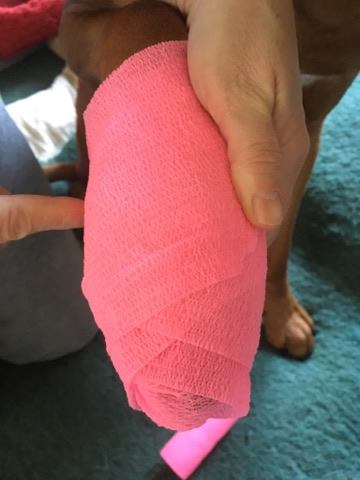
Once you have the paw bandaged securely, finish the dressing behind the leg and secure with a tape or, if you have had to use vetwrap, it should stick to itself in place. (We finish at the back of the leg to stop the dog finding a corner to be able to pick and pull at)
It might be necessary to then pop a child’s sock over the top and secure above the ankle bone to make sure the dog cannot get the dressing off (though I’ll bet they will try!)
It is important to remember that this dressing is a temporary measure only to protect the paw and save your home from being covered in blood. You MUST see a vet as soon as possible to have the wound checked as it may need further irrigation, removal of debris or dirt and perhaps a stitch or too as well. He may need pain killers and antibiotics too.