Positions to Practice – I was asked on one of our canine courses recently about the best position to be in when you check inside your dog’s mouth. One of my main suggestions is that you should practice the various positions you intend to use to examine your dog to get him used to it and thus preventing him “freaking out” if you need to do it in an emergency situation, say if he is choking for example.
On the back of that question, one of our Rhodes 2 Safety Facebook followers contacted me to ask if there were any other positions or exam techniques she should be practicing with her dog so, here is a run down of the sort of positions that would be great for you to get Fido used to “just in case”.
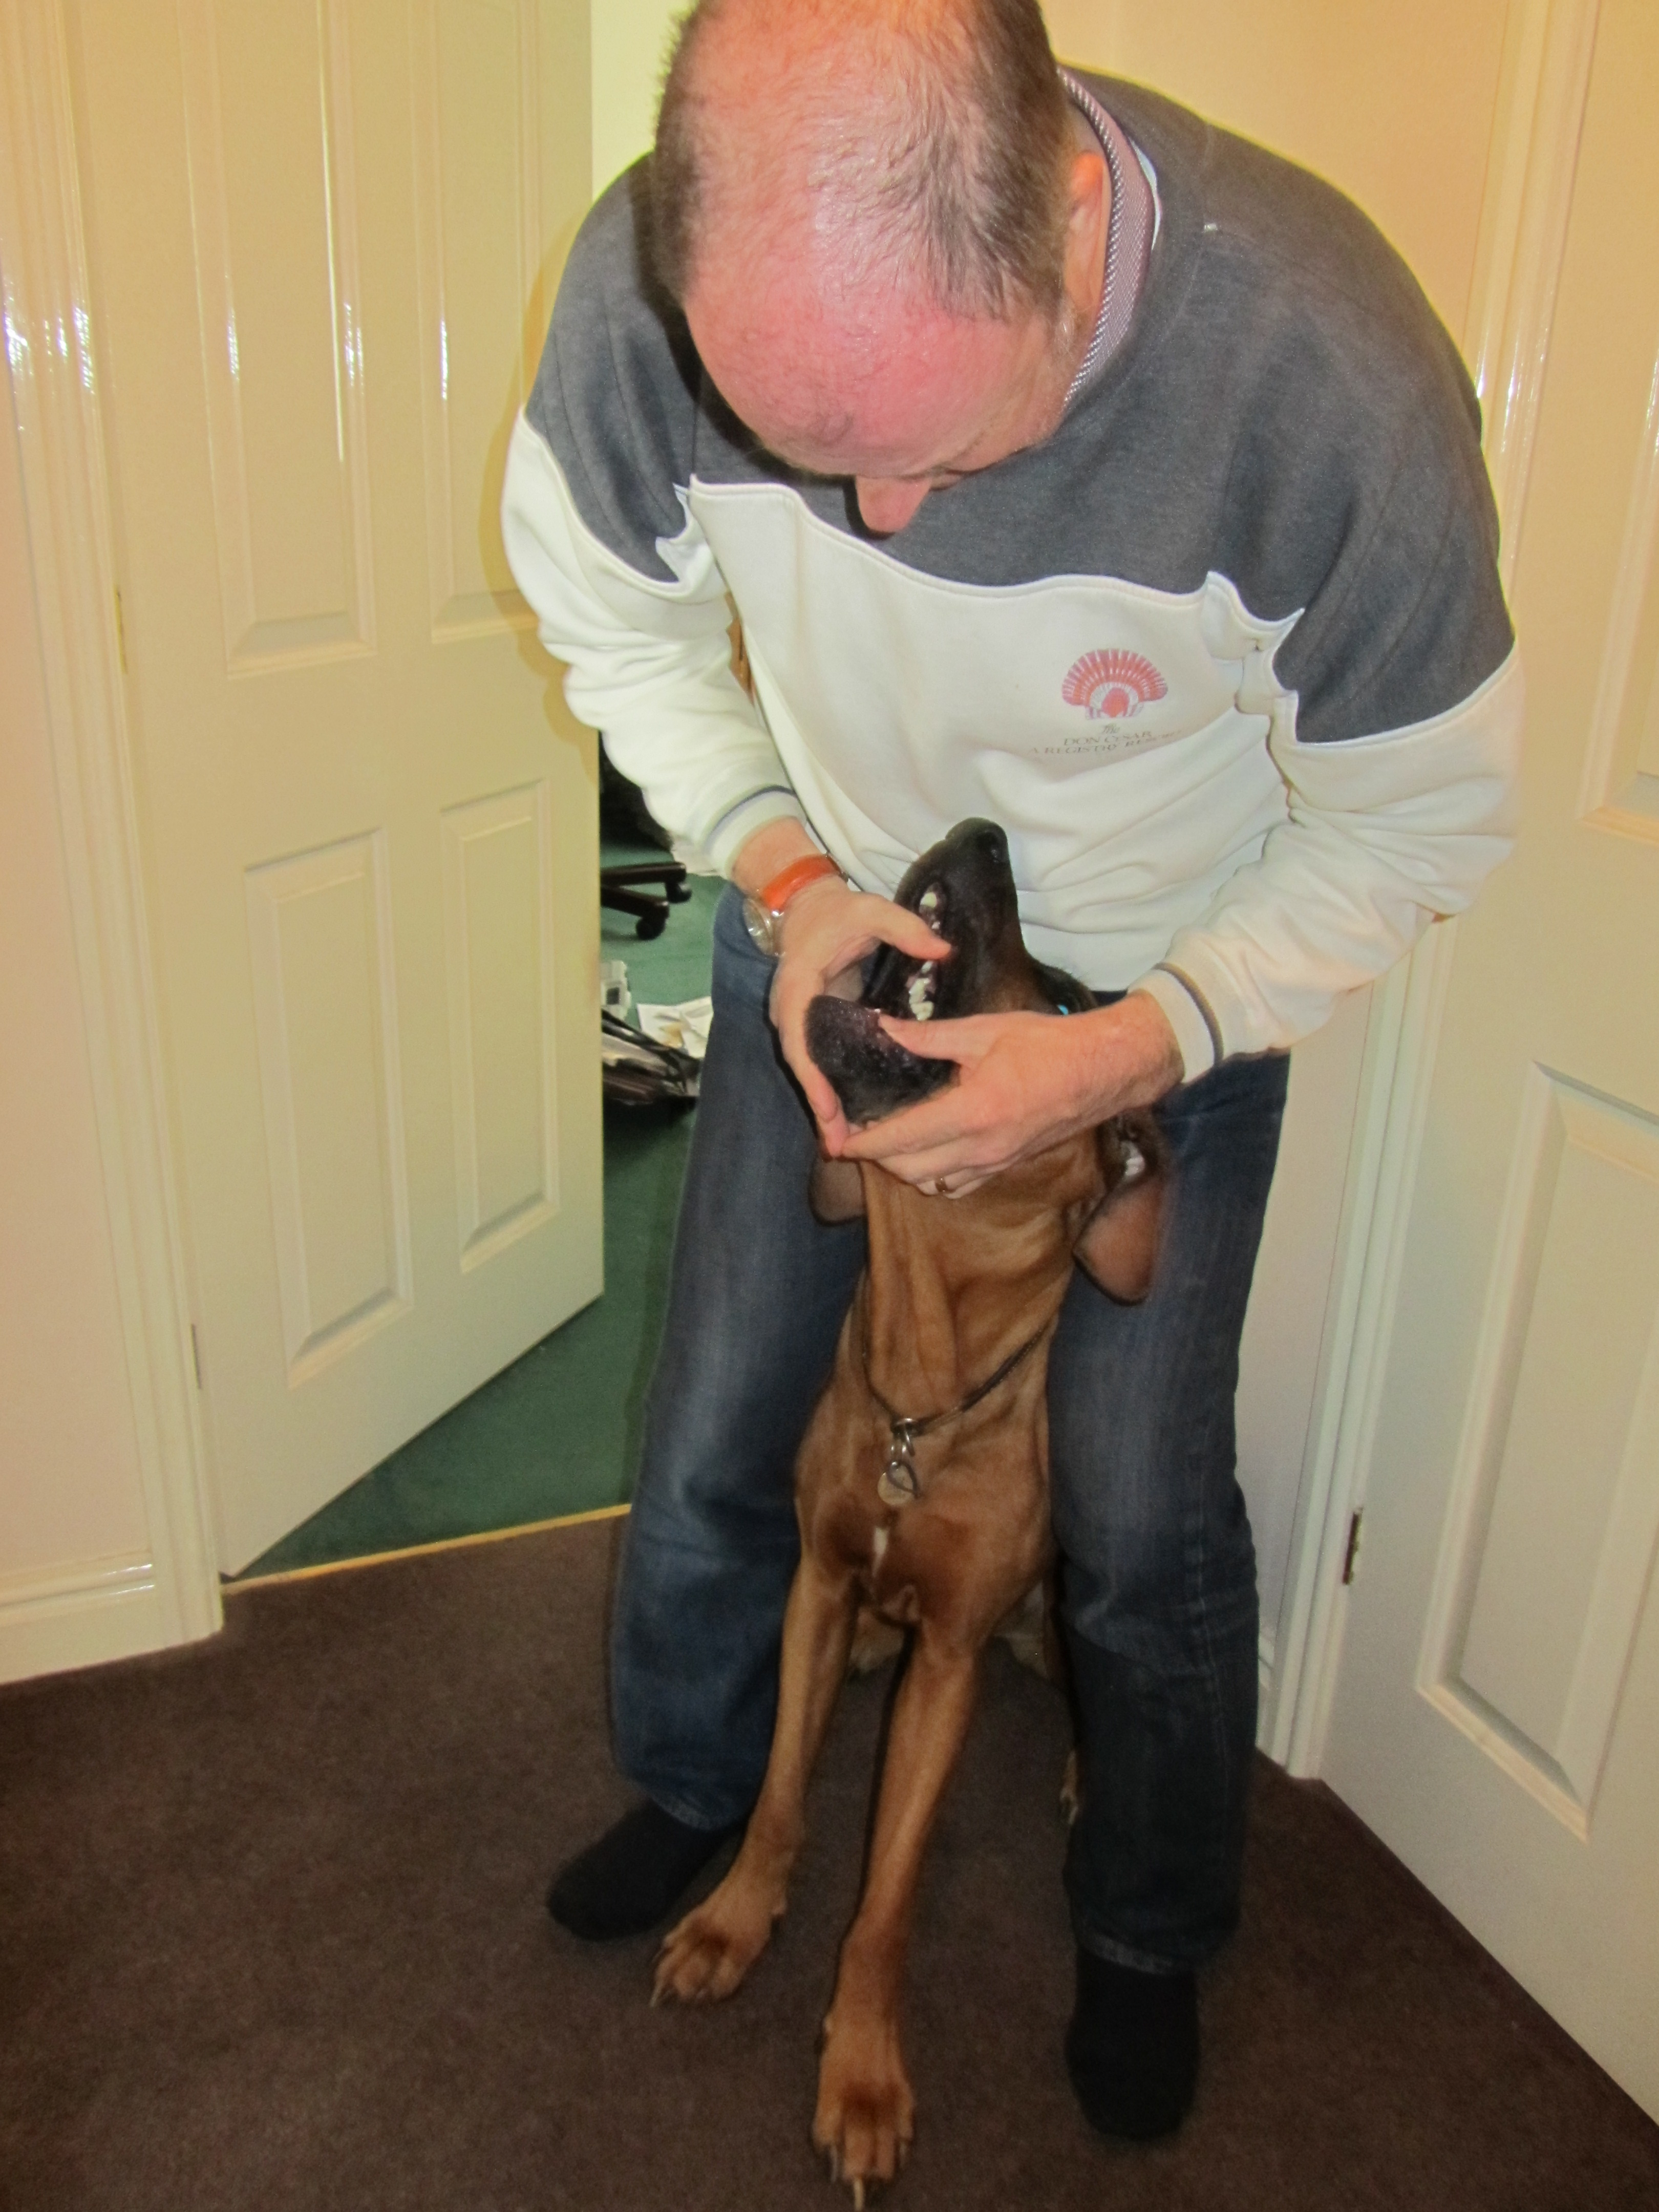
Examining the Mouth
Your position when checking a dog’s mouth should be with him facing away from you and you standing astride him (or kneeling for a small breed)
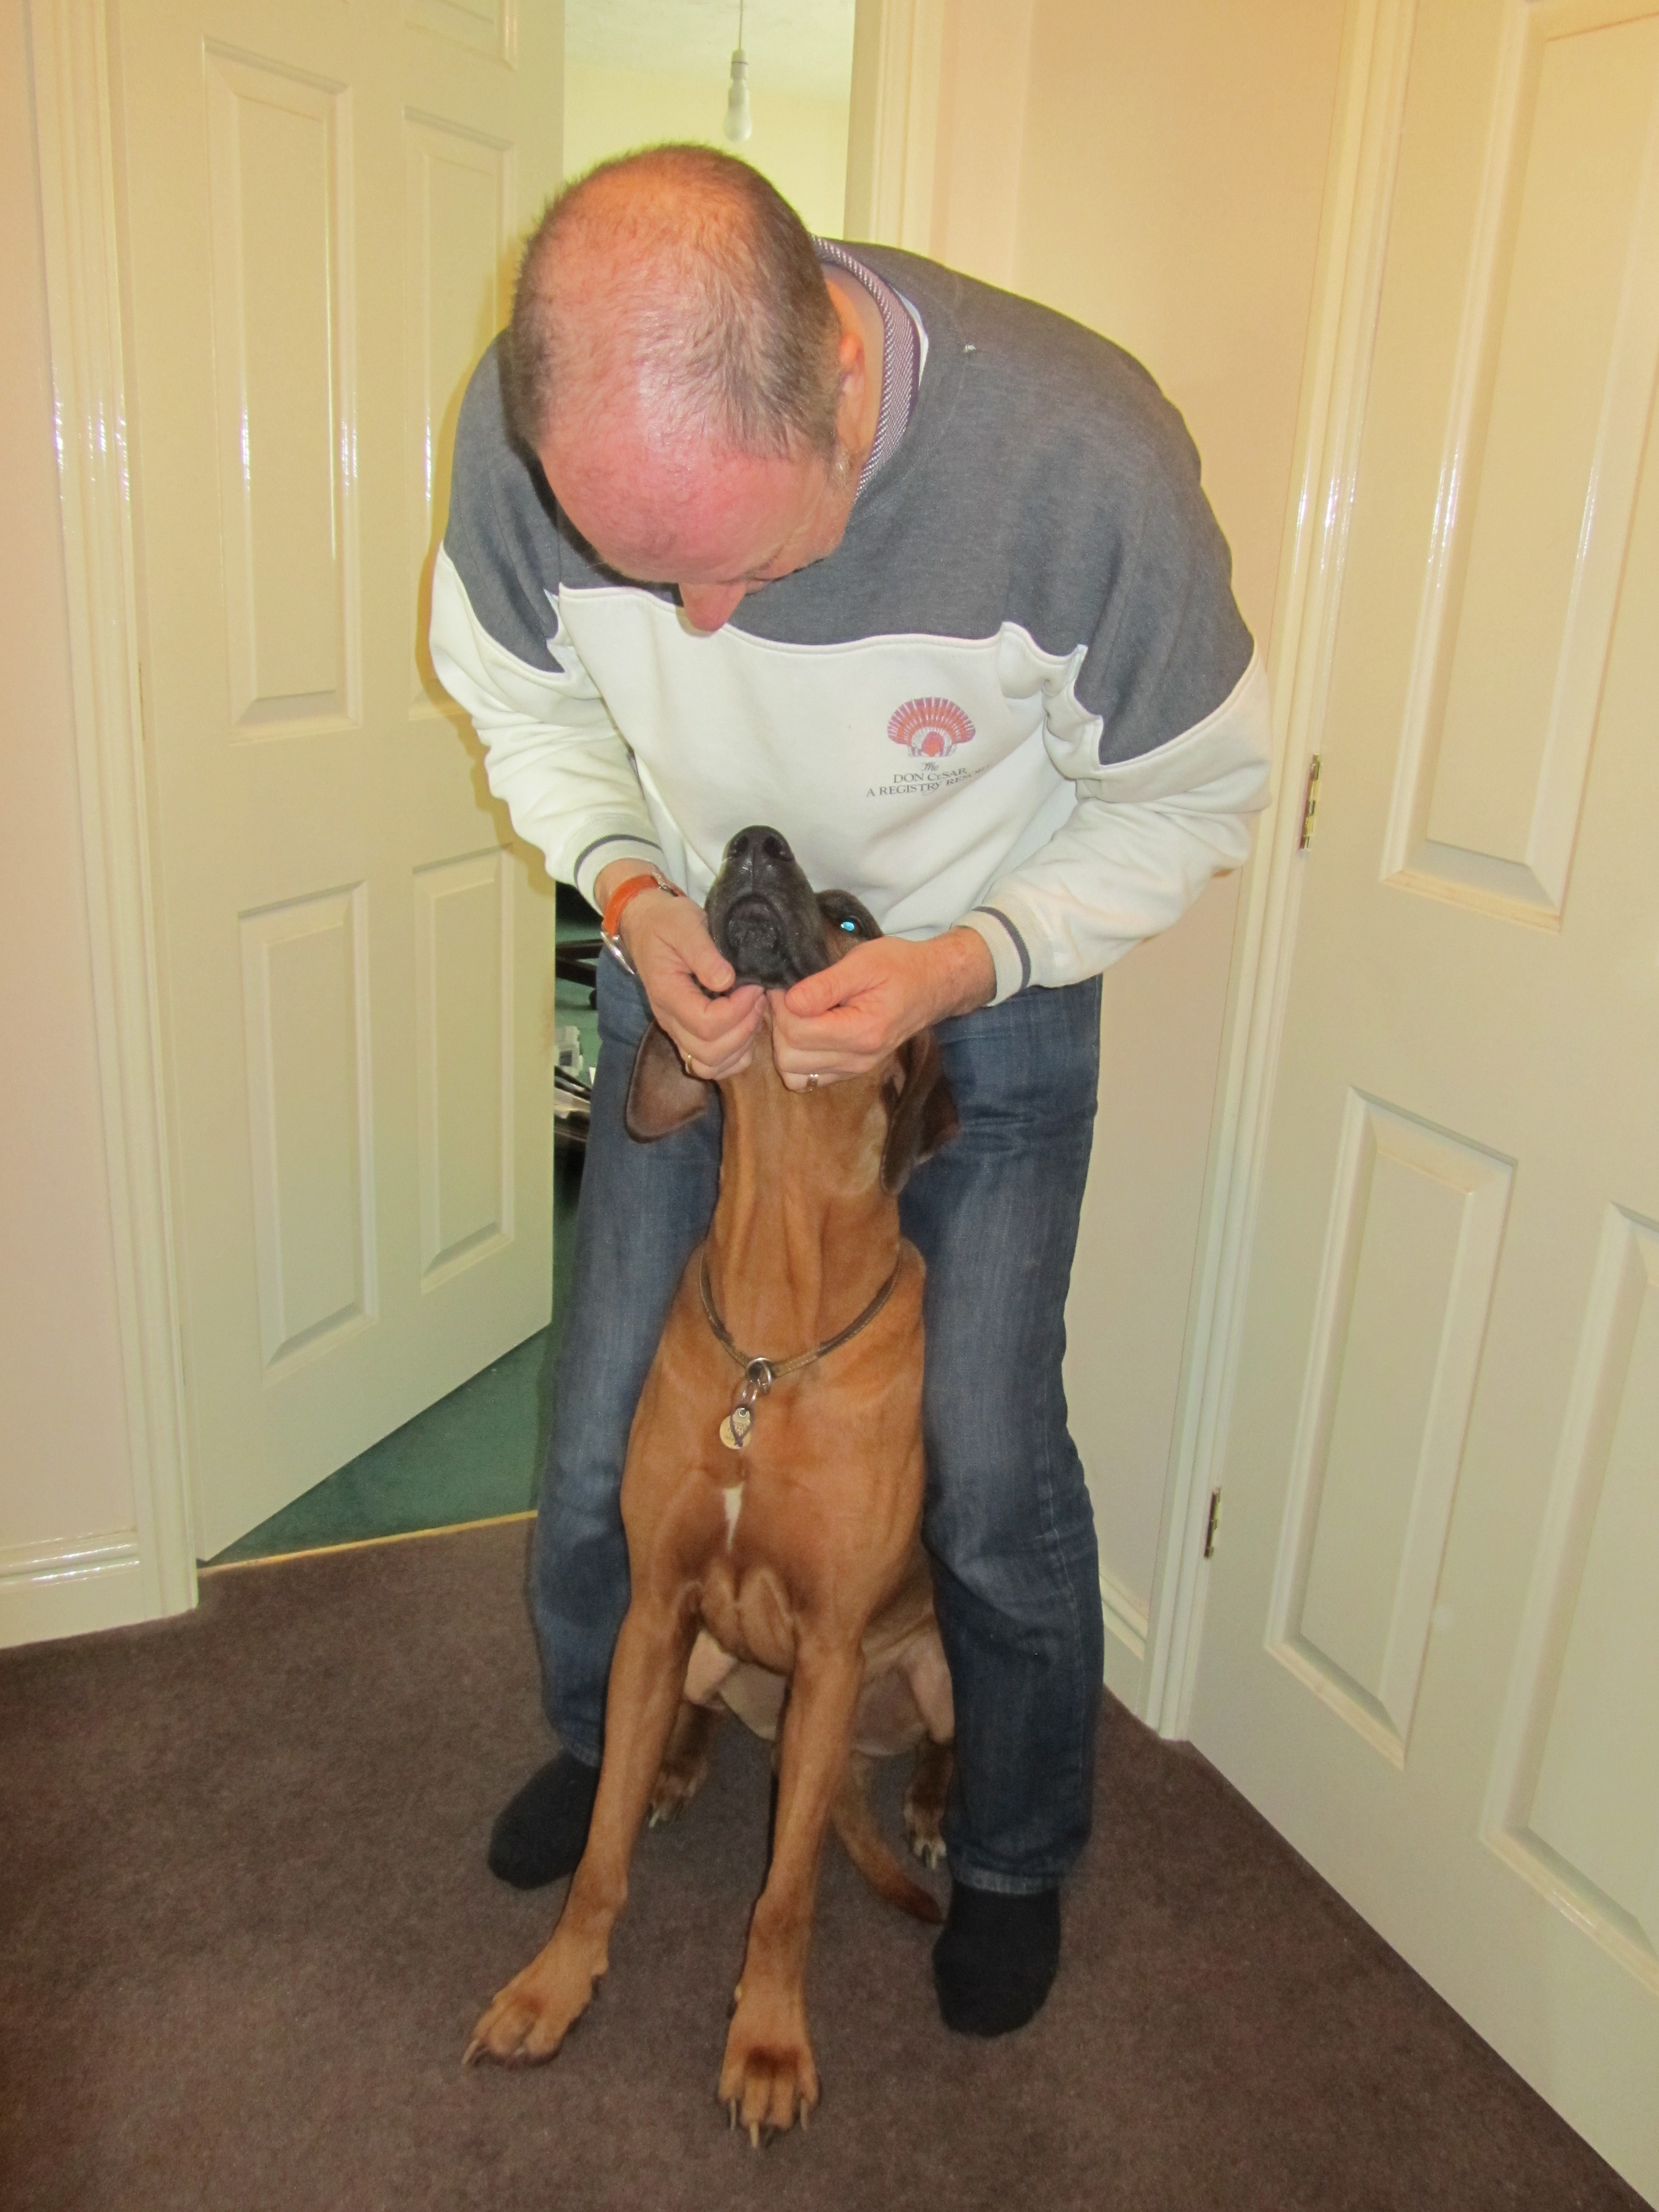
Get him comfortable with being in this position first, and then move on to having him tolerate you looking inside his mouth …. only for very very short seconds to start with. Being careful not to get yourself bitten, place your fingers in the gap behind his fangs and gently open up his mouth so you can see right to the back of his throat and also the roof of his mouth. I usually say something like “mummy’s looking” before I do it so he knows what’s coming next.
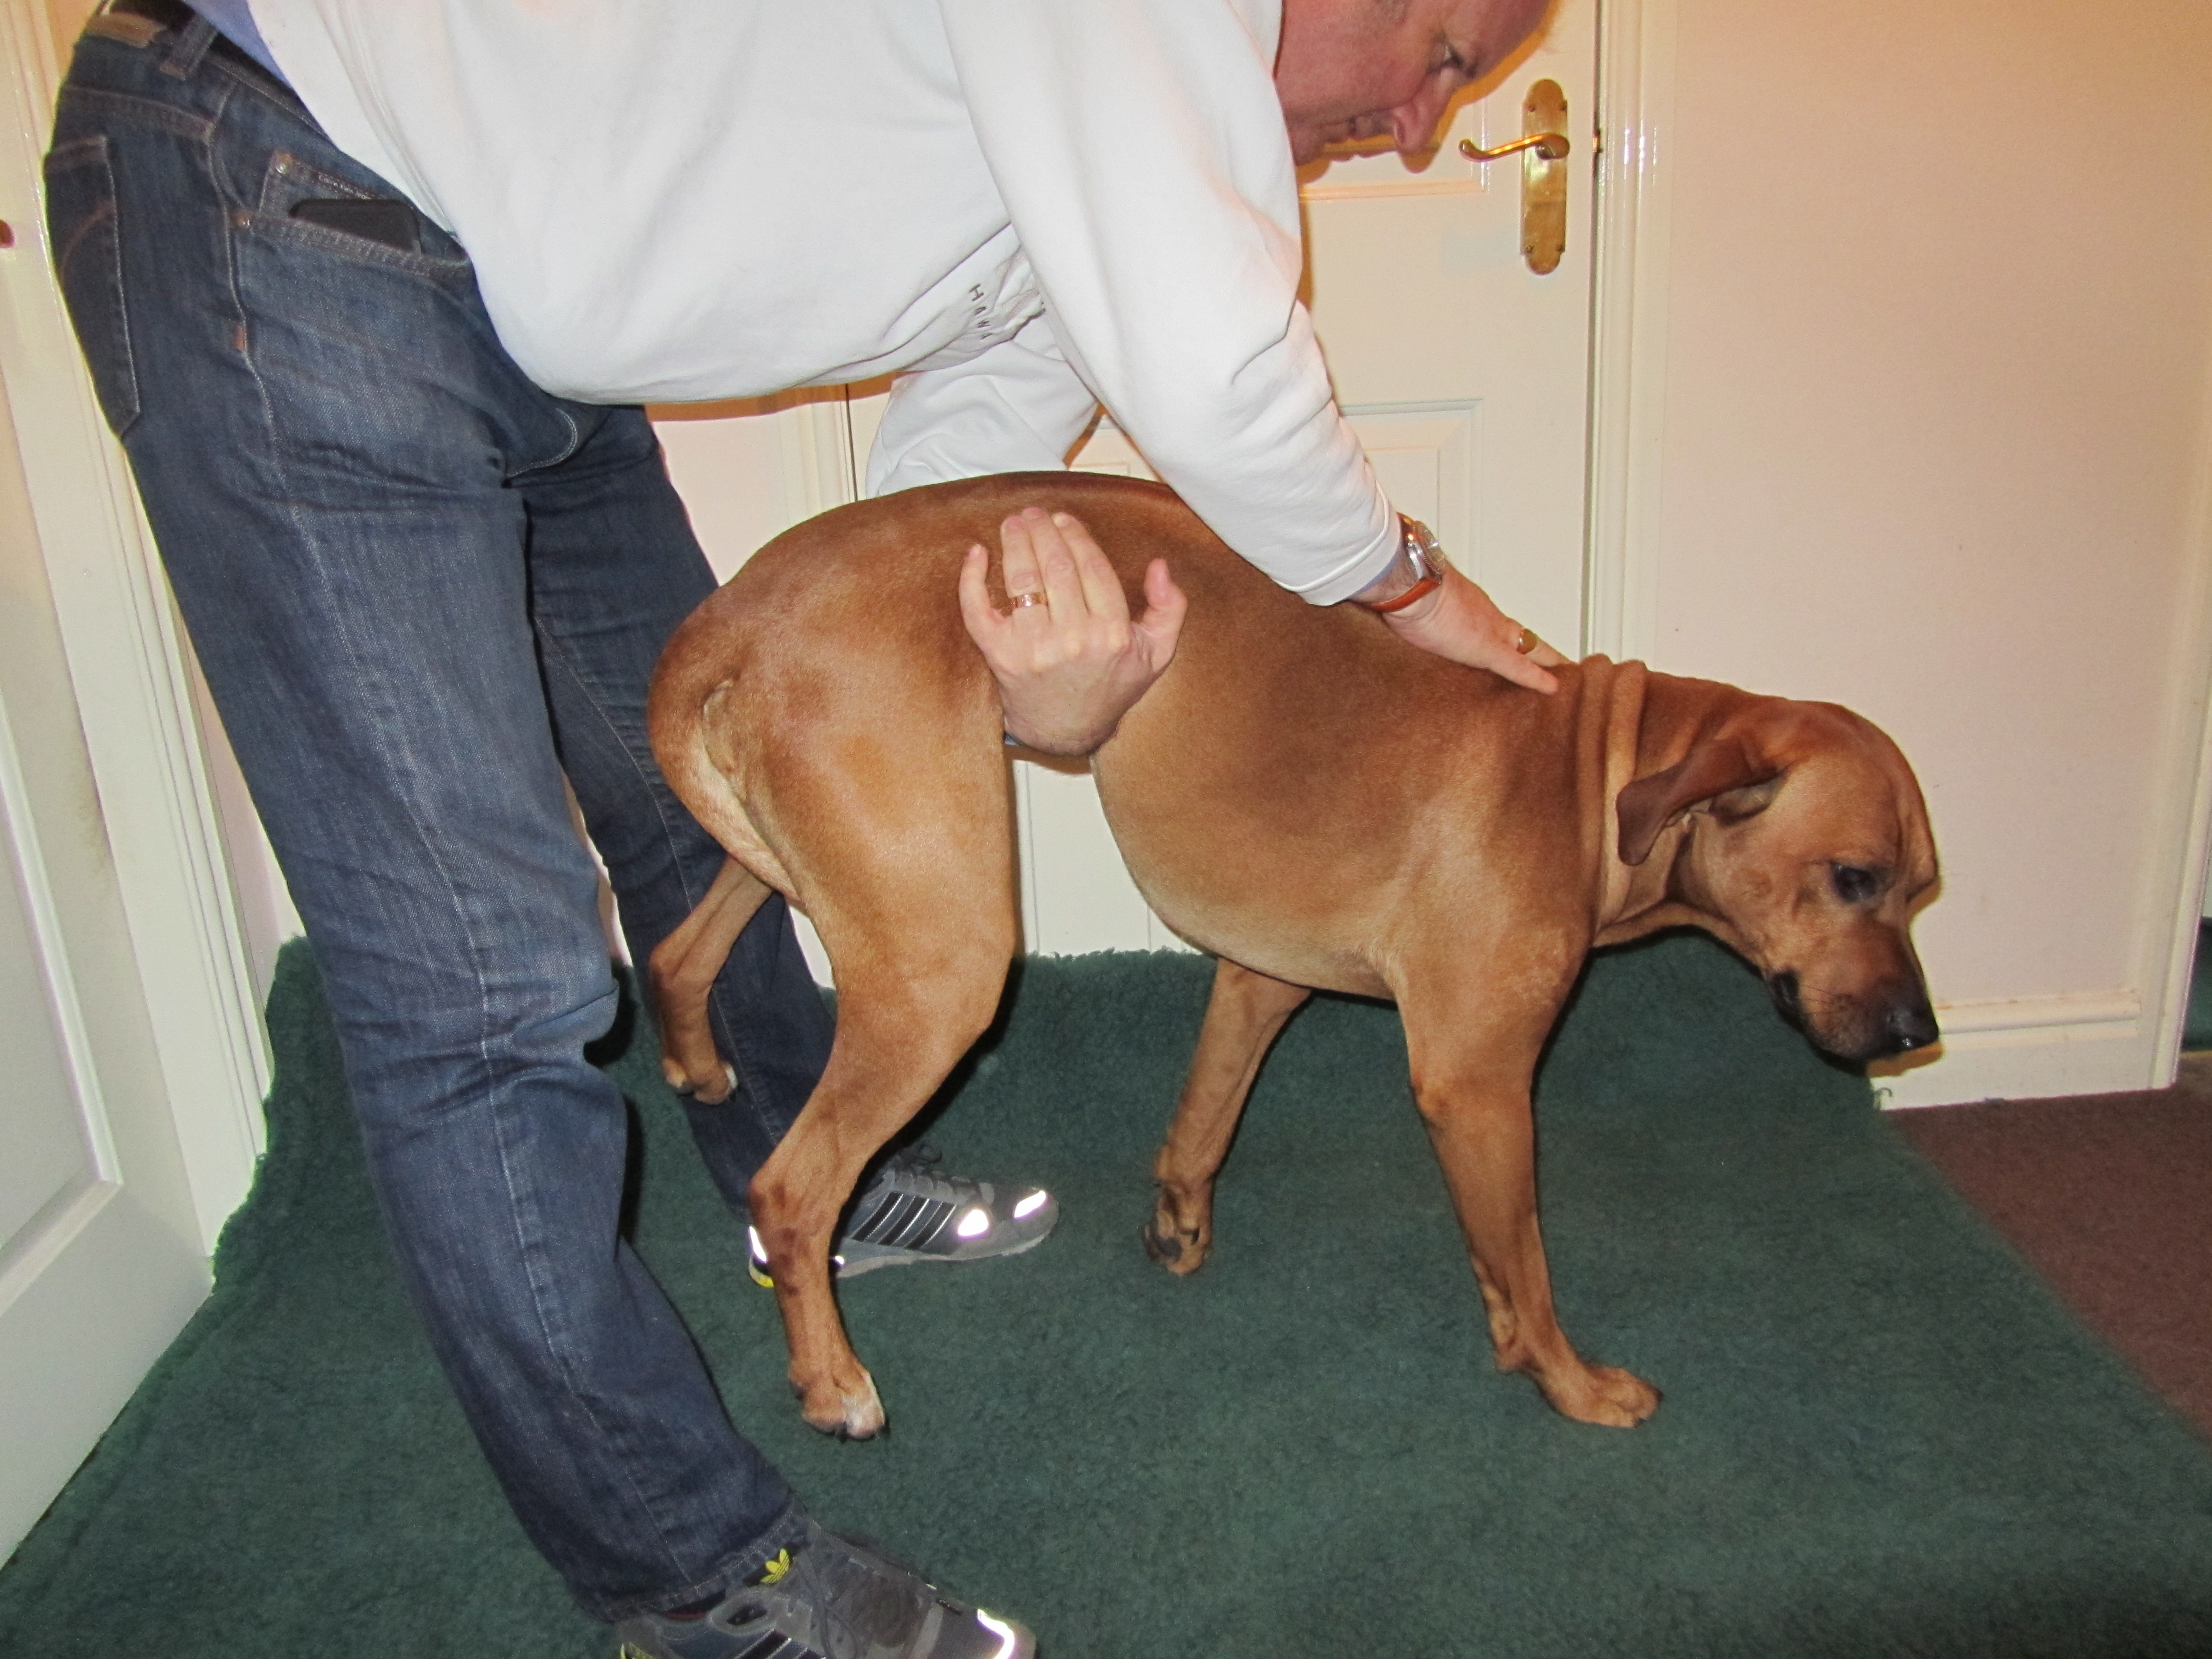
Choking
Once you have checked to see if there is anything visibly blocking the throat when your dog is choking, you will need to administer “back blows” between the dog’s shoulder blades. This is easy with a small breed as one would merely hold them just above the hocks (DON’T PRACTICE THIS POSITION … ONLY TO BE USED IN EMERGENCY SITUATIONS)
For larger breeds we need to lift the dog with one arm under the hips so that he is tilted, head down, so that gravity is helping (the wheelbarrow position). This is a very odd position for the dog and a good one for you to practice and get him used to:
The next position to practice for the treatment of choking is the one we need to administer abdominal thrusts. If the dog is small breed, you’d simply hold him with his back against you, head up him. If, however, your dog is medium sized or slightly larger, have him sitting, facing away from you. Kneel up behind him and tilt him backwards against you. It will take some time for him to be comfortable in this position and to trust you …. it took Rain about 10 minutes to become happy with being placed in this position. If your dog is very large and “top heavy”, this position may simply not be possible, in which case you will merely need to adminster the abdominal thrusts with him in the previously mentioned wheelbarrow position above.

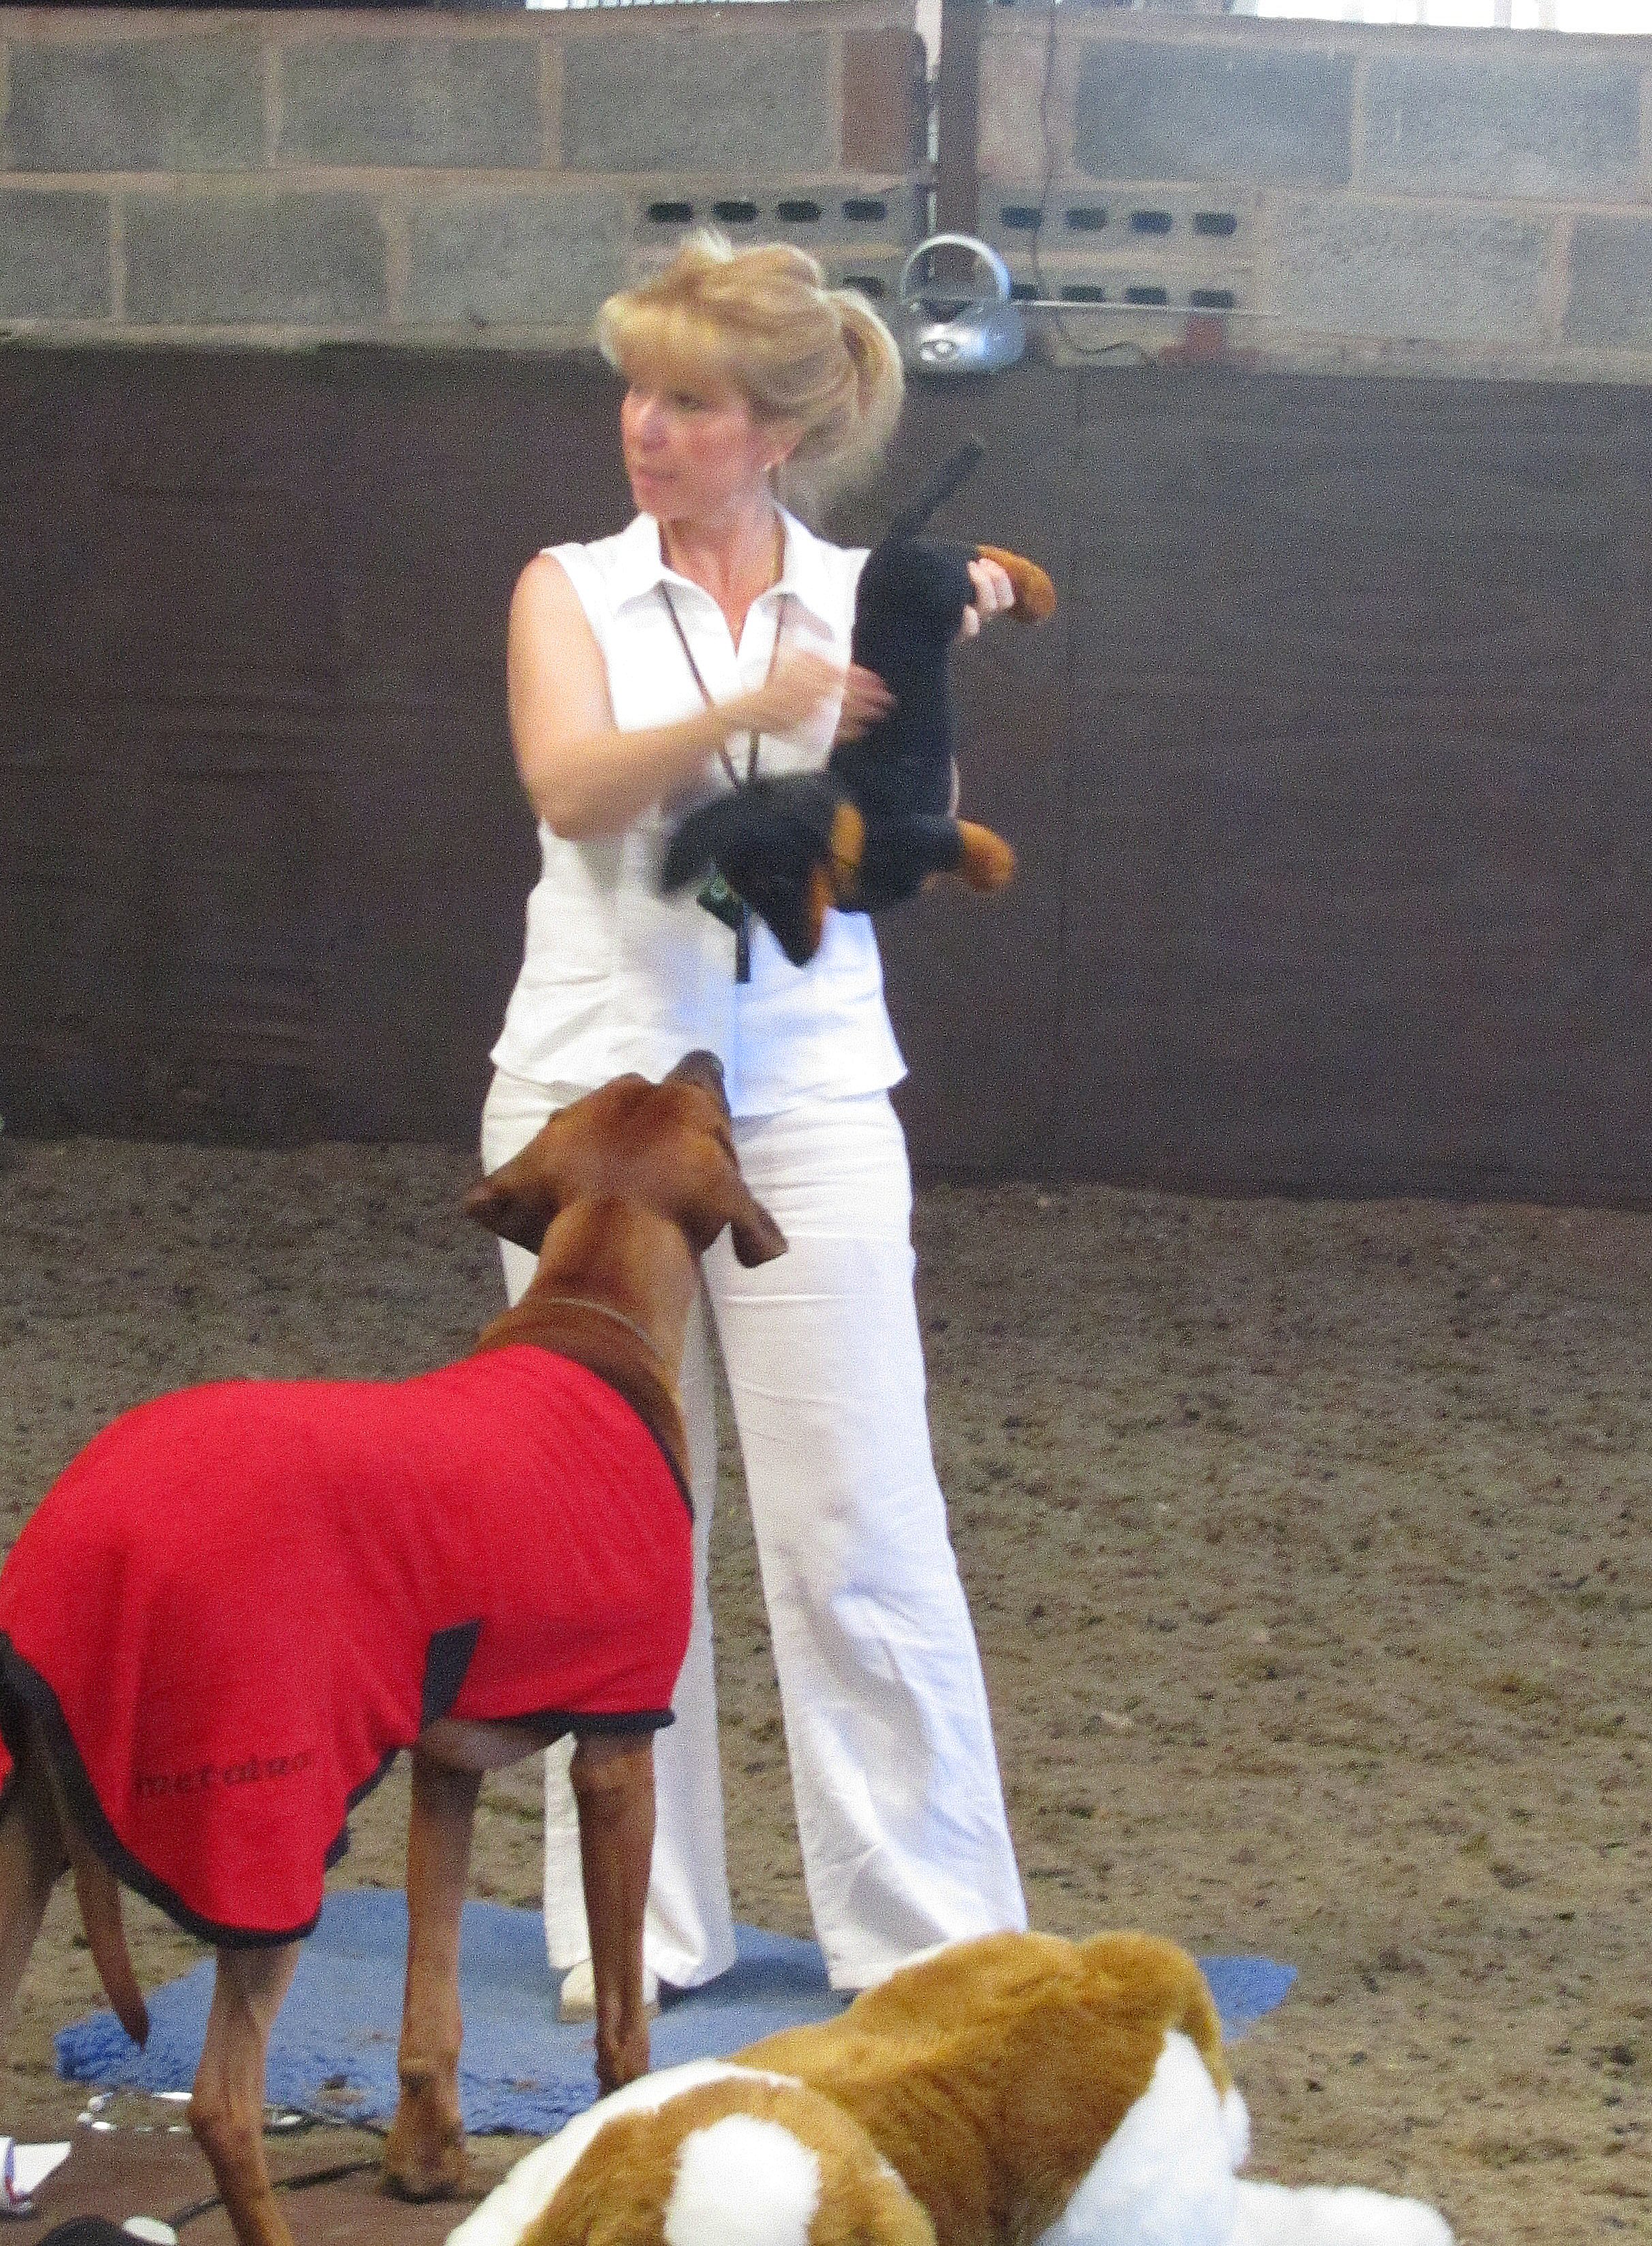
Muzzle Acceptance
You should try to make sure that if you need your dog to wear a muzzle, say if he has been hurt and your vet needs to examine him, that he is used to the feeling of wearing one. Far better to teach him muzzle acceptance in a kind, gentle, force-free manner well in advance of ever needing it. Here is a video by Claire Staines of Lothlorien Dog Services to explain how to introduced a muzzle the RIGHT way
https://rhodes2safety.com/canine-tip-of-the-day-teaching-a-dog-to-accept-a-muzzle/
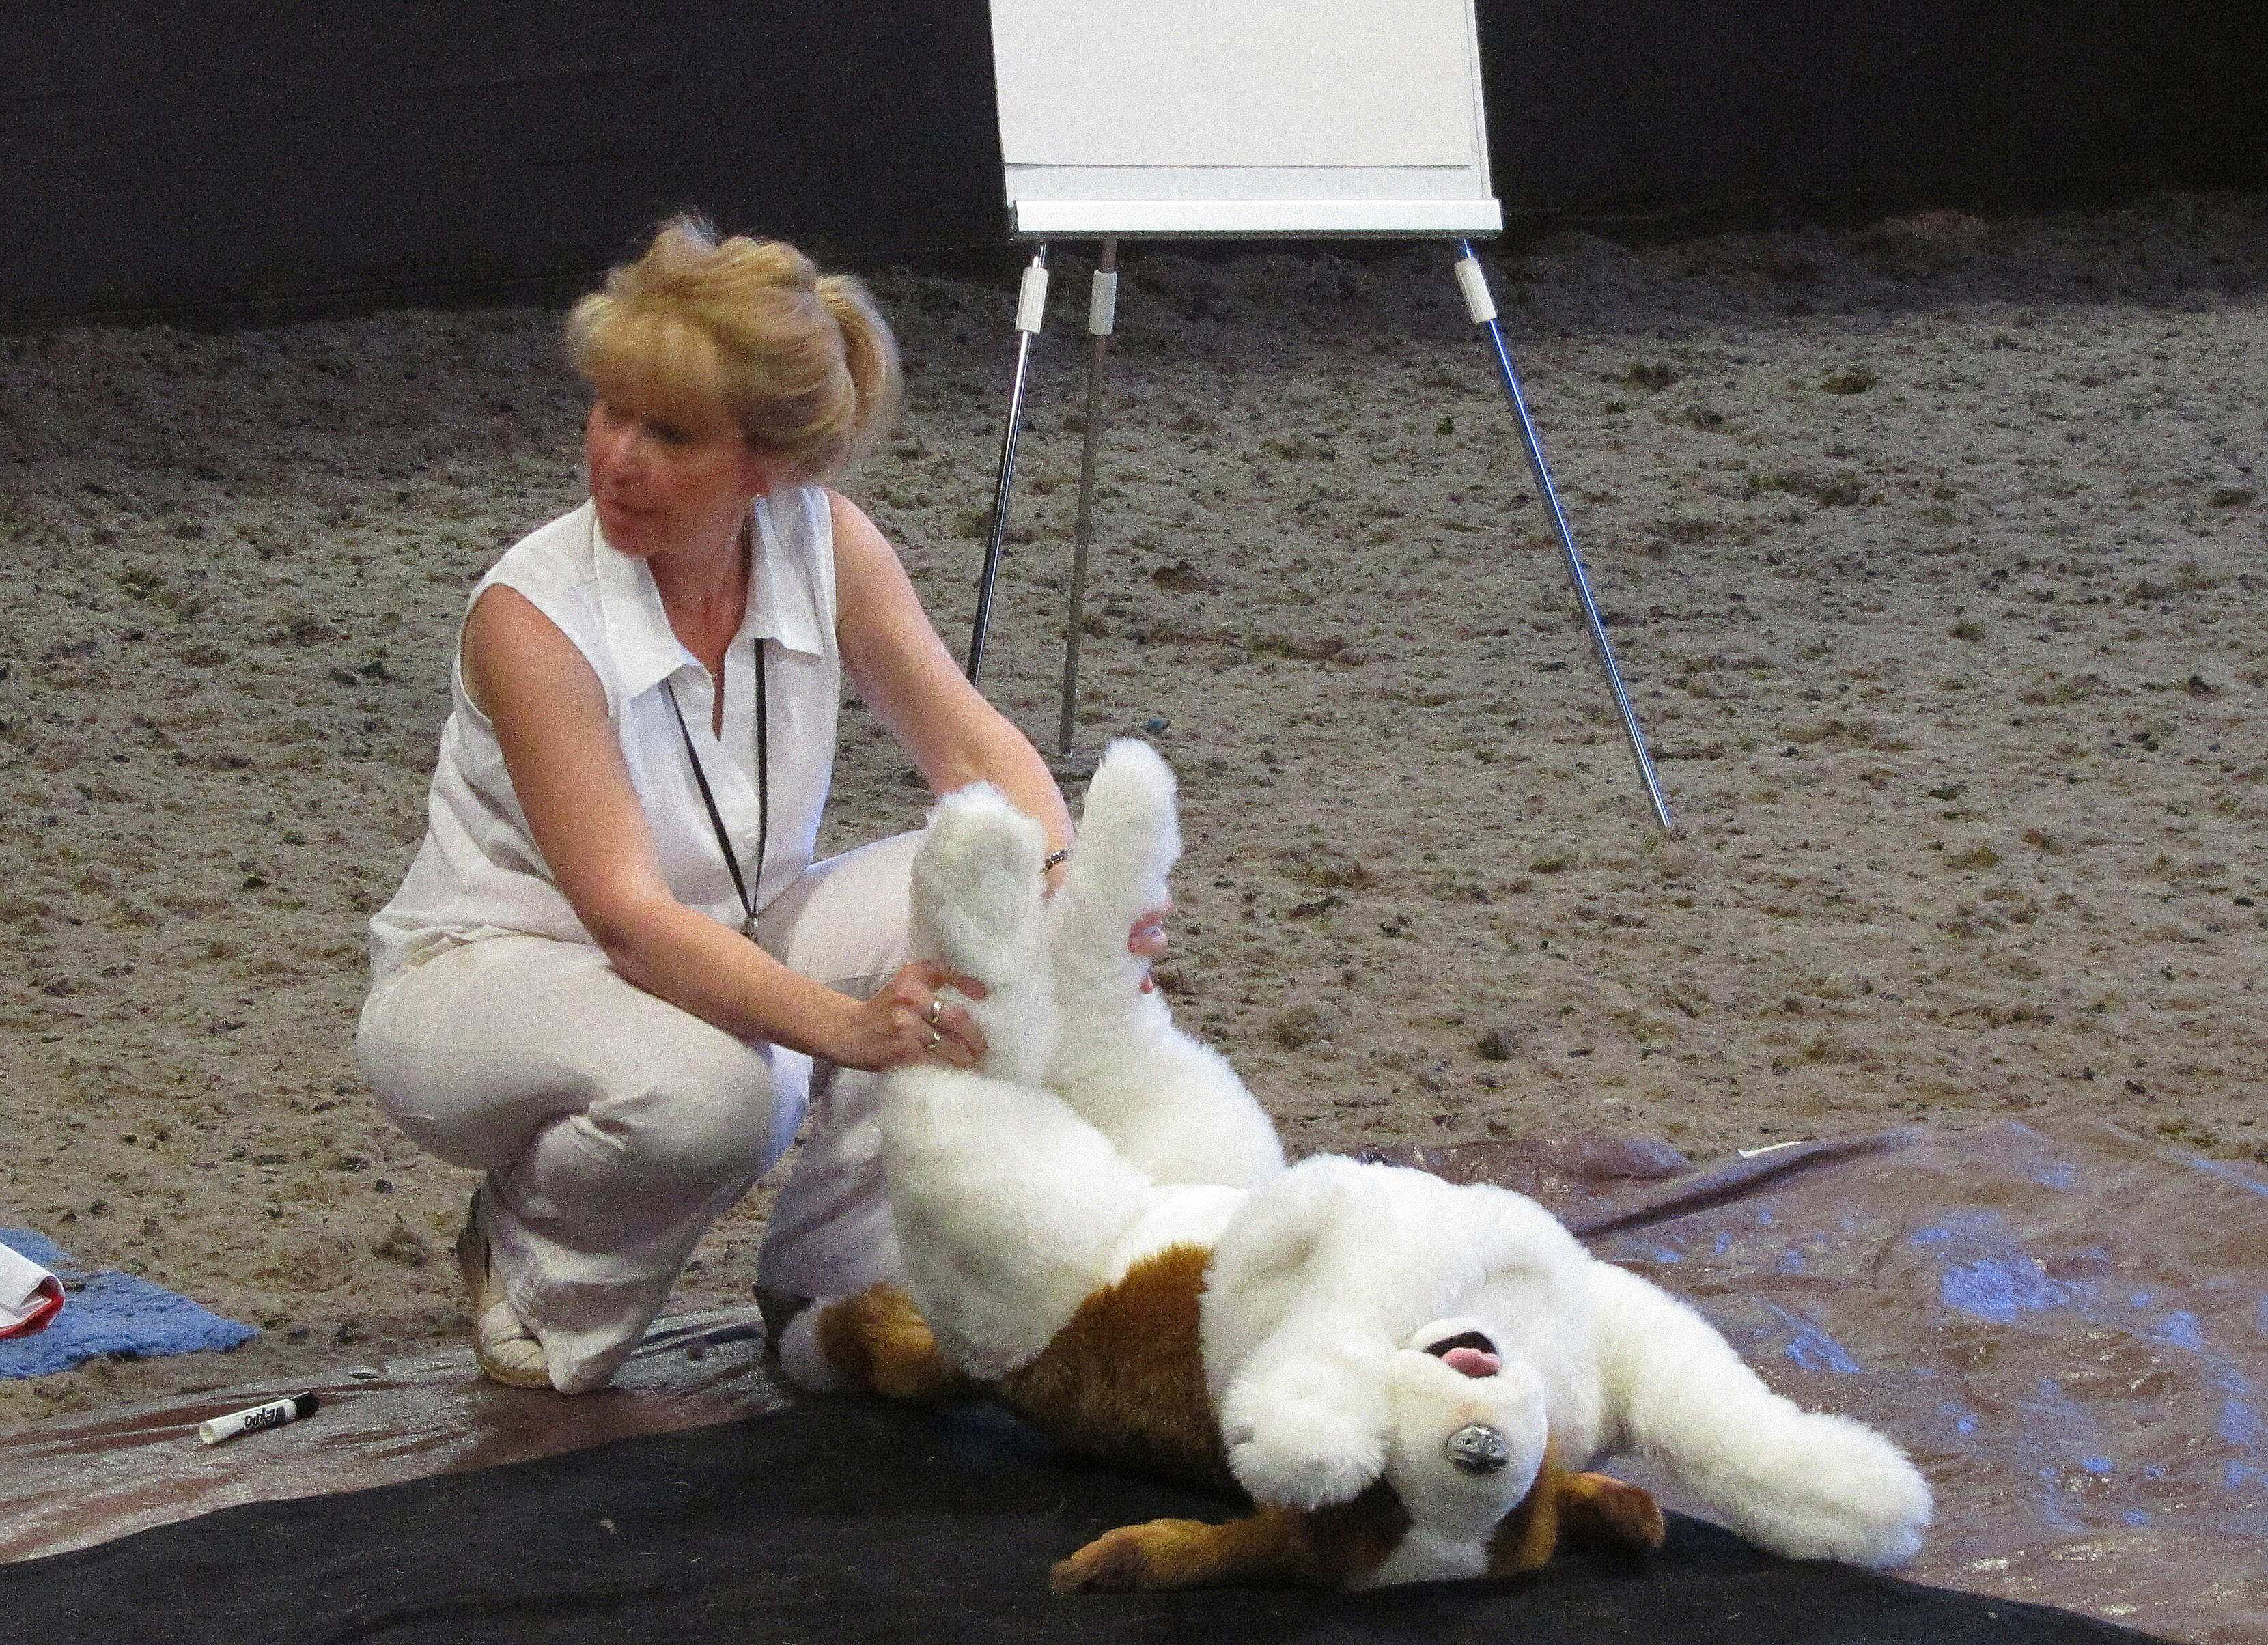
Temporary Treatment for Shock
As a temporary treatment for shock, we need nothing more specialised than having your dog lying on his back and you holding his back legs up to encourage as much of the blood in the thighs as possible to return to the body core
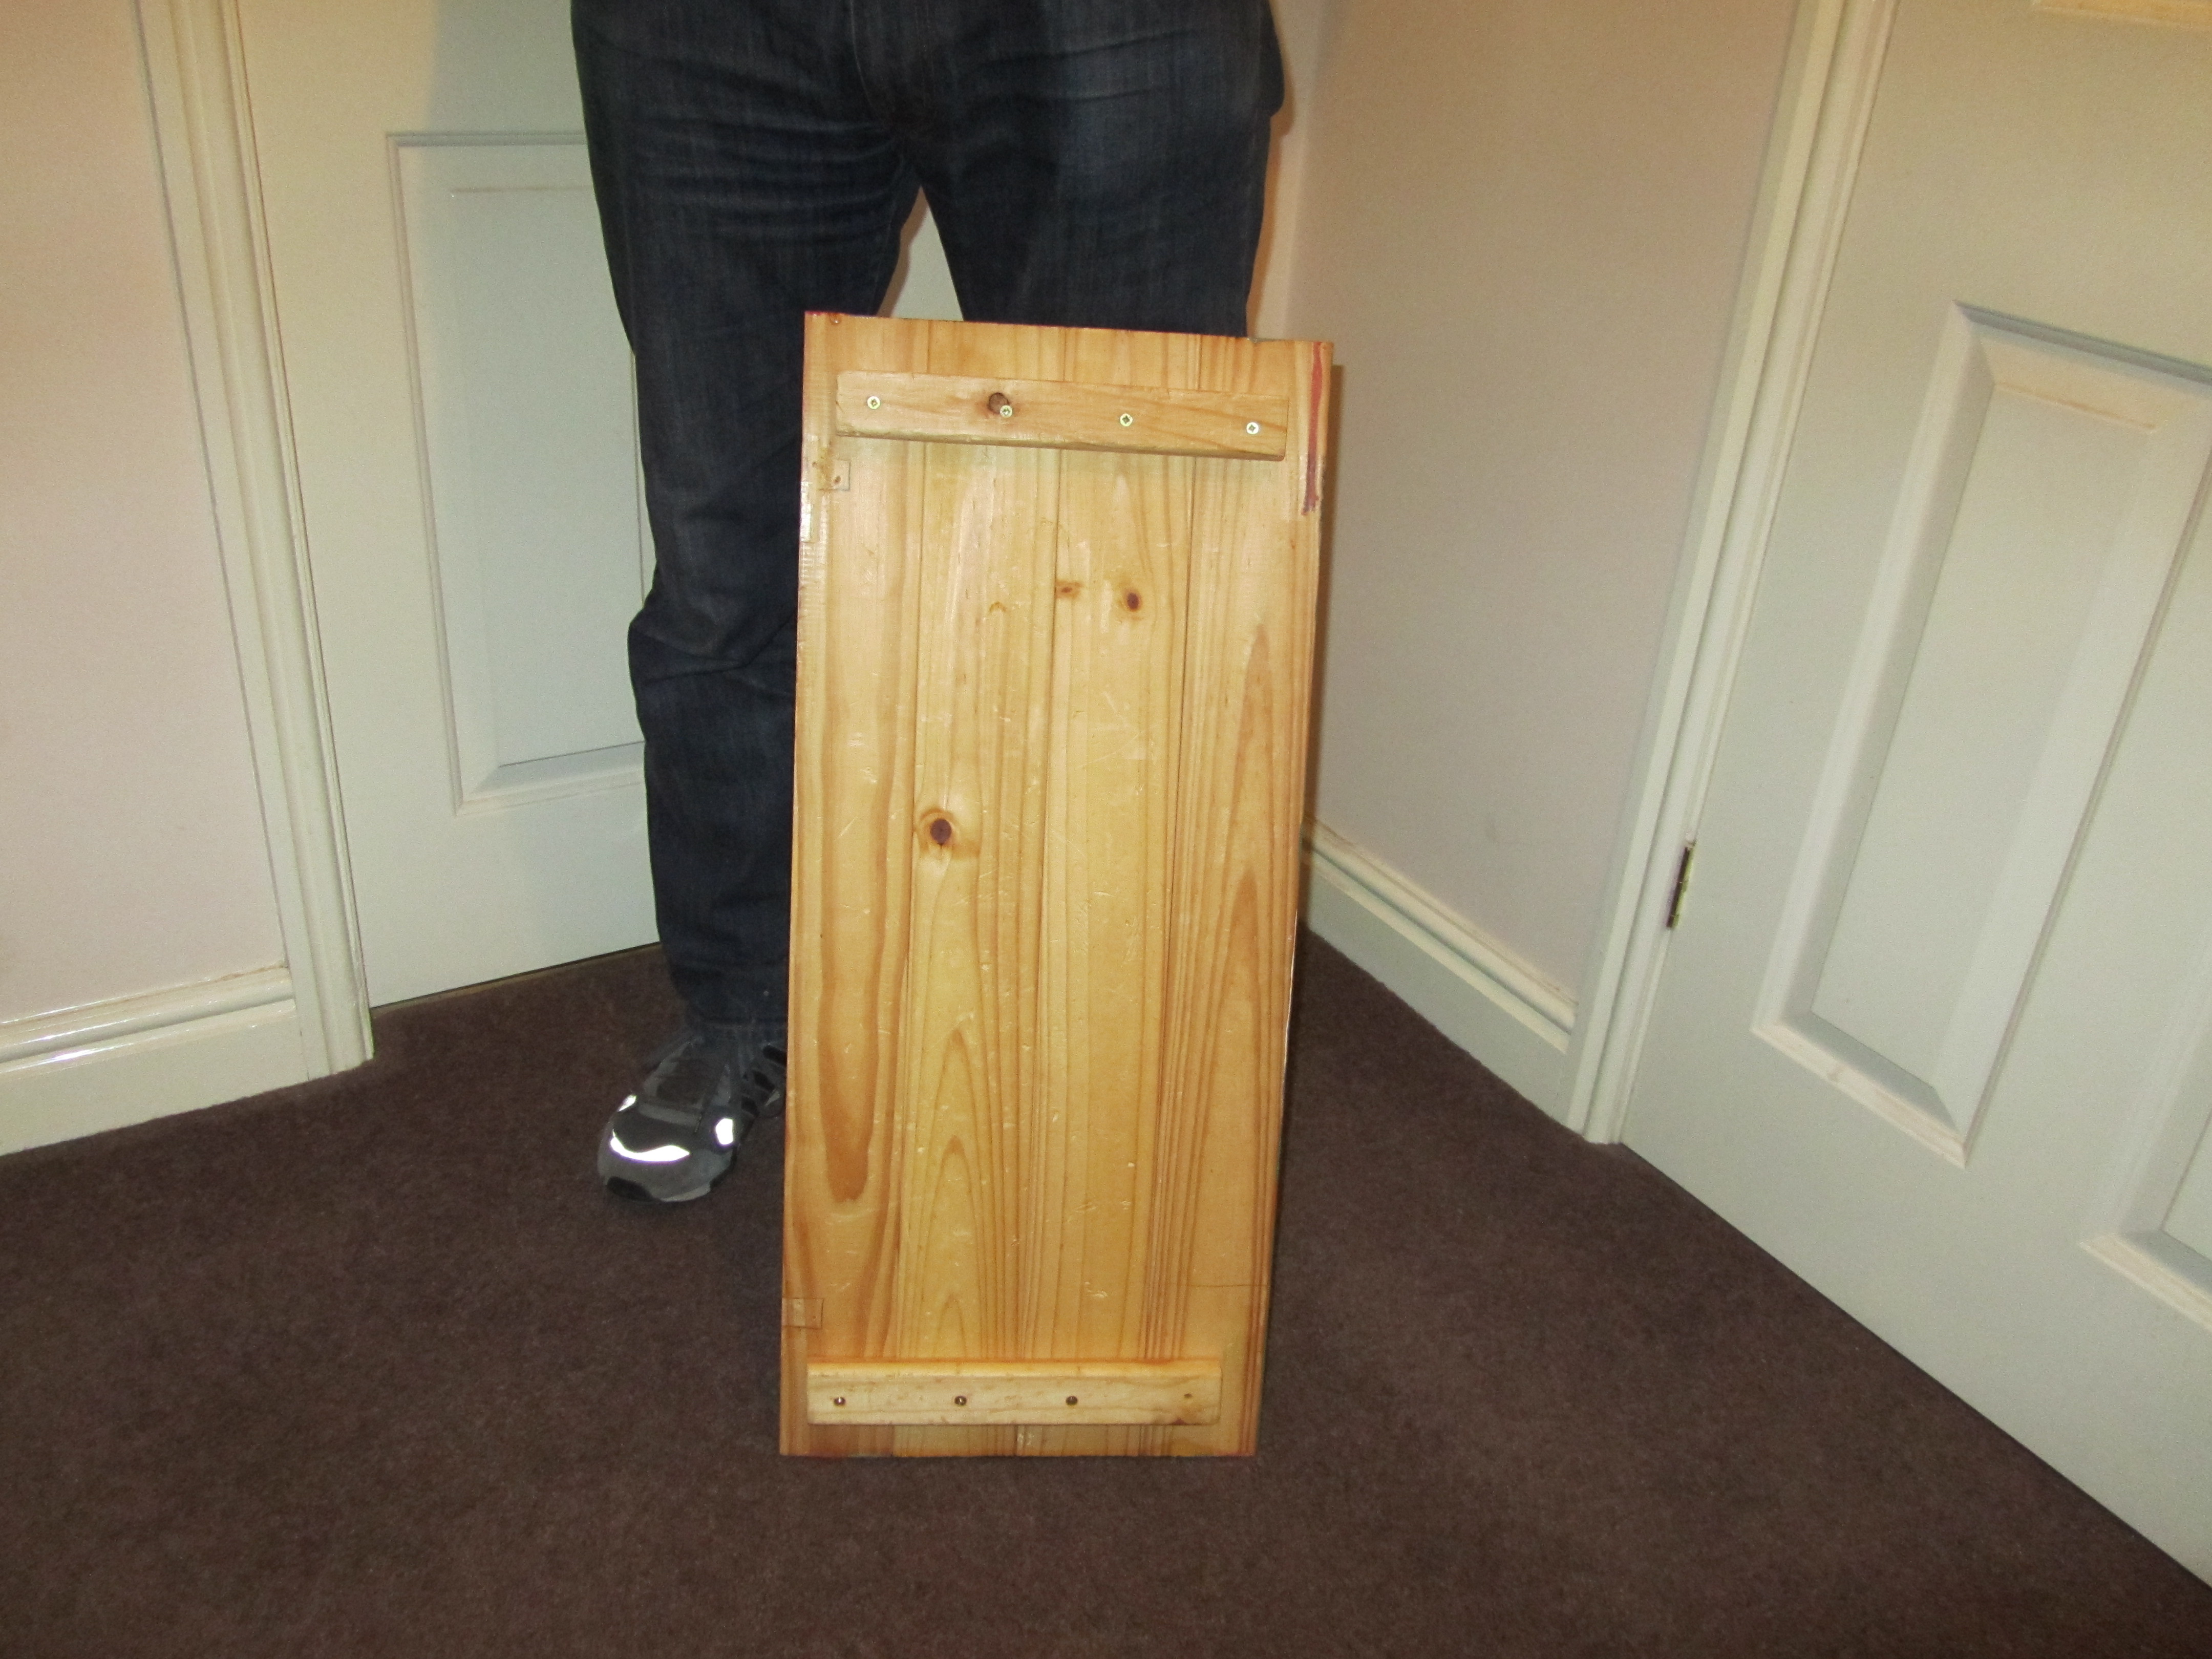
Stabilisation Treatment for Shock
For the stabilisation position you need to find a board strong enough to take your dog’s weight. It took me 1 minute looking around our house to find this one from my son’s bedroom – its the lid from an old toy box.
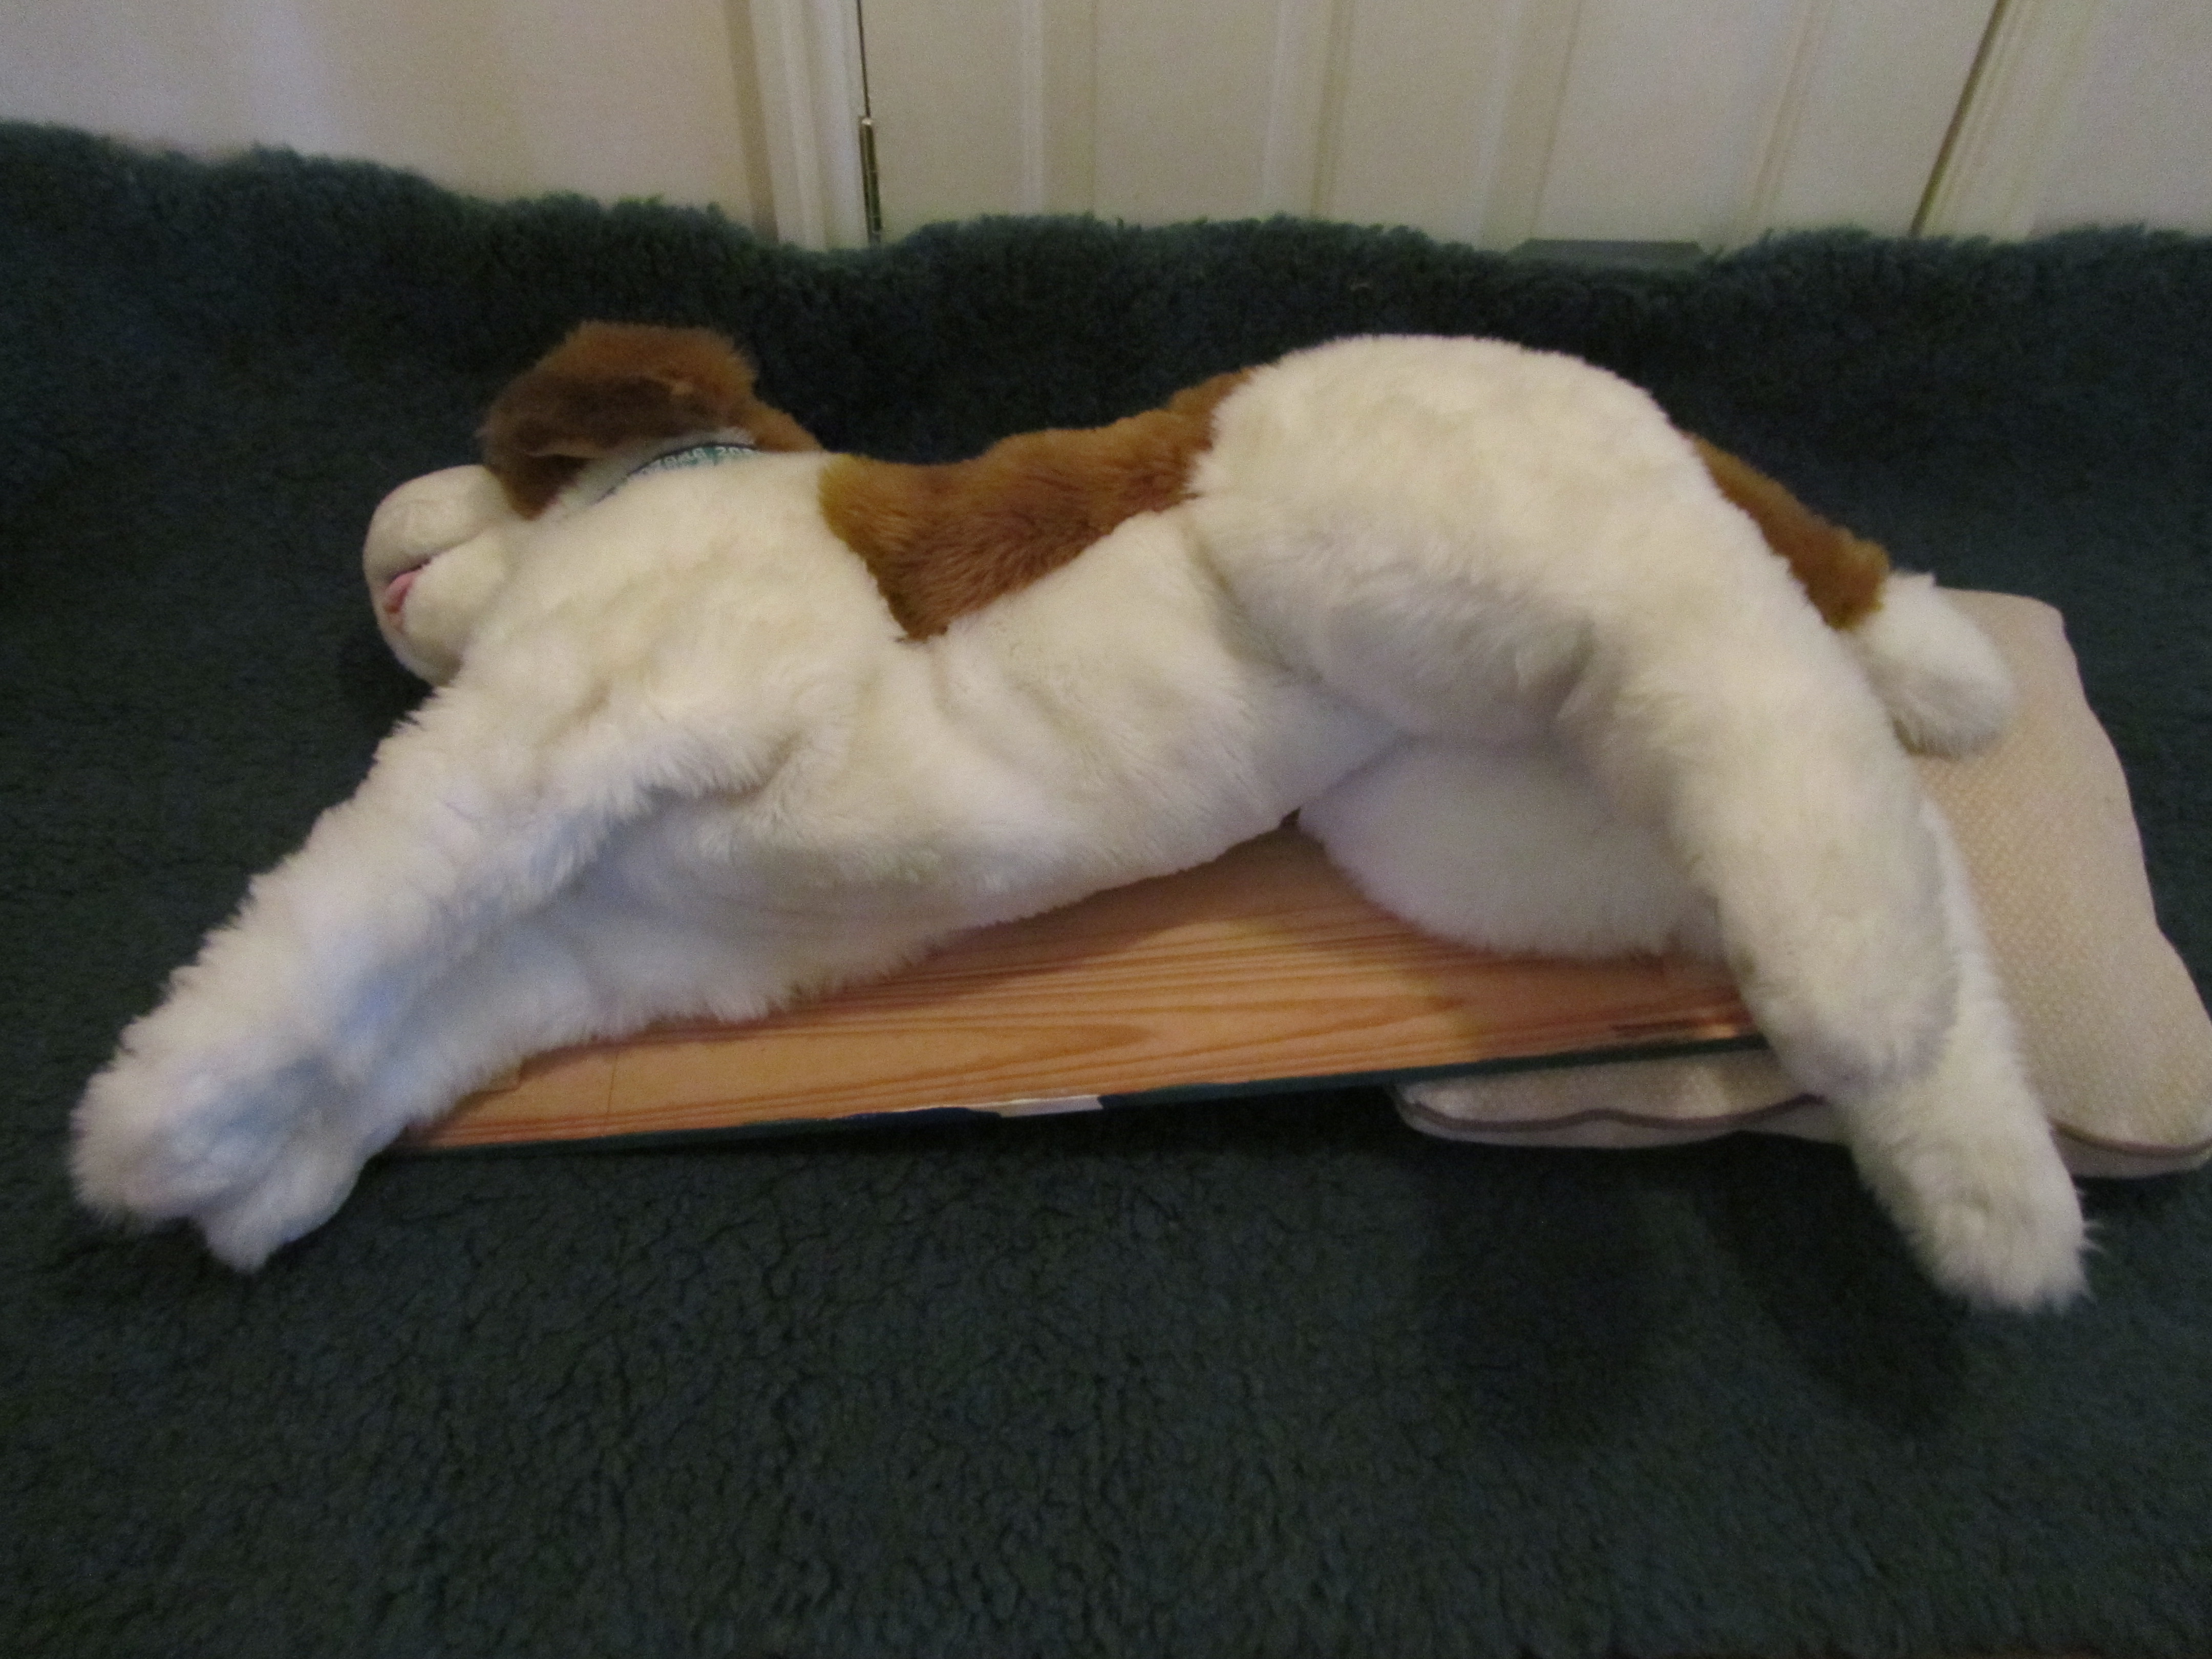
Take your board and position a cushion or perhaps your jacket at the very end of it. Lie your dog on the board, on his right side, with his bottom elevated by the cushion under the board.
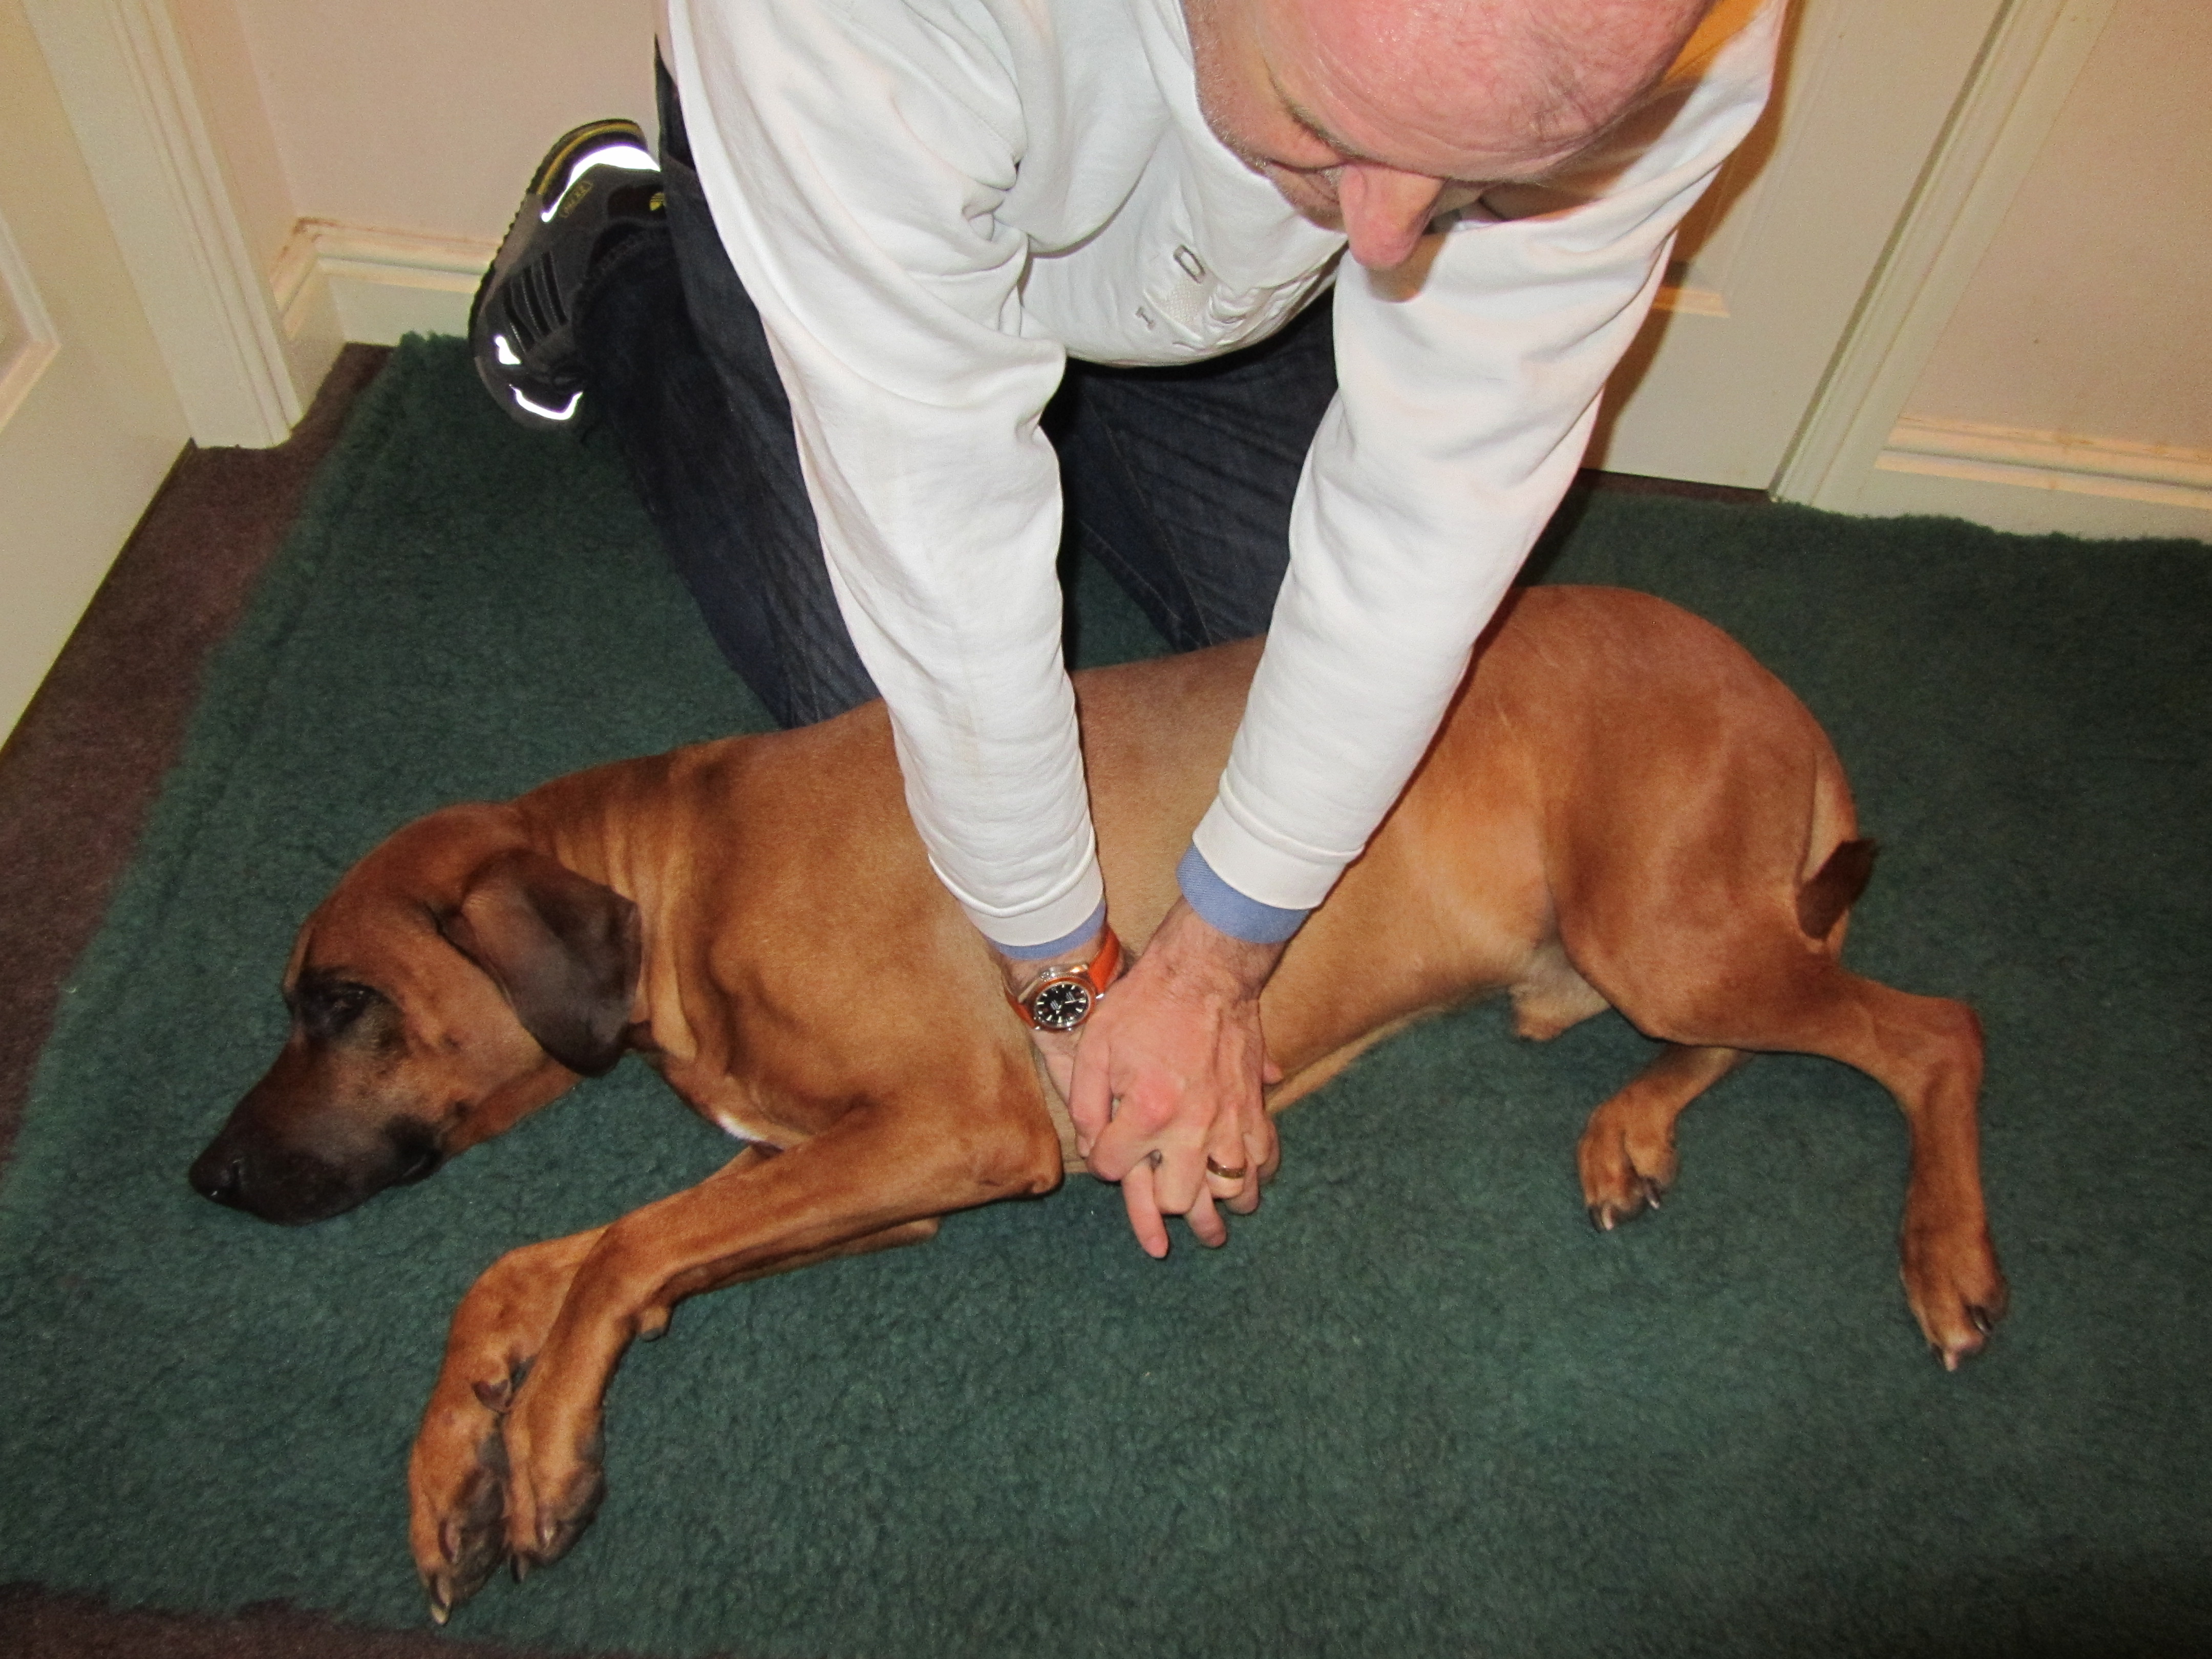
CPR & Artificial Respiration Position
The final position doesn’t really need practicing, but I thought Id put it in as a memory jog – for CPR and Artificial Respiration, your dog MUST be on his right hand side so that his heart is uppermost – you will find his heart roughly where the elbow would touch the ribs if you bent his front leg back.
NEVER EVER PERFORM CPR ON ANY ANIMAL WITH A HEARTBEAT.
Of course, aside from all of these specific positions, its great to get your dog used to being handled and examined regularly by checking his paws, nails, ears and eyes for example once a week while you groom him.
Another great thing to practice is a straight forward bandage. I would suggest that you practice on a human a couple of times just to make sure that your dressing is not too tight (your human “dog” will soon tell you if its uncomfortable). Once you are confident that your dressing wont hurt your dog, you can practice on him regularly, say to the leg or the paw, just so that your dog gets used to you faffing about with him. Once you have applied a bandage, leave it on for a few minutes or so to get him used to having to tolerate it – use a different leg each time so he’s not bothered which one you practice on. Remember not to apply the dressing too tightly as we do not want to cause any problems with the blood flow.